Up-cycled Activity Table
Some time last week, I had noticed that my kids were tearing up their activity table and that it looked like someone had taken a razor blade to it. So, I decided to go on Google and see if I can find some way of doing something with their table because I didn't want to just trash it. So, I spent all night searching for ways to change it, I came across this website called DIY Inspired (here is the website: http://www.diyinspired.com/) and she had a play table kinda like mine and she duct tape to change it and give it a new look. So, I thought it looked like a great idea. SO....
This is how I did Mine:
 |
| This is the Before and After pictures. |
This is what your going need:
- X-ACTO Knife (Razor: I didnt have X-ACTO Knife at the time)
- Duct Tape (Between 3-6 rolls: depending how many colors you would use; depending on what size of the roll)
- Ruler (Optional; good for measuring out different patterns/designs)
- Screw Driver (Flat tip or Phillips)
- Kids activity or play table (Metal base)
Now lets start Up-cycling:
 |
This is what the table looked like before.
You can see where my kids were tearing at and the cuts which looks like some one took a razor too. |
 |
| What you want to do is turn the table over to where the screws are visible. |
 |
| Then you want to start unscrewing the screws from the metal base from the top of the table. |
 |
| This is what it should look like after you have taken all the screws out . |
 |
This is what it looks like when you have finally taken out of all the screw and removed the metal base.
Just put the metal base off to side for now. |
NOTE: You will probably want to wipe both sides of the table, to make sure you get all of the sticky stuff off (well I know I had to because my kids some times eat off this table).
 |
This a where I used the ruler to draw and help me figure out what kind of pattern or design I wanted to do.
Now its time to start cutting some tape. I just cut each strip one at a time. |
 |
| Now, I tape the back because it helps to keep the sides taped down, to cover up the dent that was made by my kids and any permanent stains that I couldn't wipe off. Plus, it makes it look prettier in my opinion. |
 |
I finished both corner where the red needed to be. Now to move on to the next color.
Since, at the time, I didn't have an X-ACTO Knife so I used a razor, which worked perfectly and thank God I didn't cut myself. |
 |
I finished one of the sides with the blue. Now on to the next side.
Those little metal tabs were a pain in the butt, but I taped around them. |
 |
| Now, that all sides of the back are taped down, turn over. |
 |
This is the top side.
Now, that I taped the bottom and sides to help me determine which corners I picked for each color. |
 |
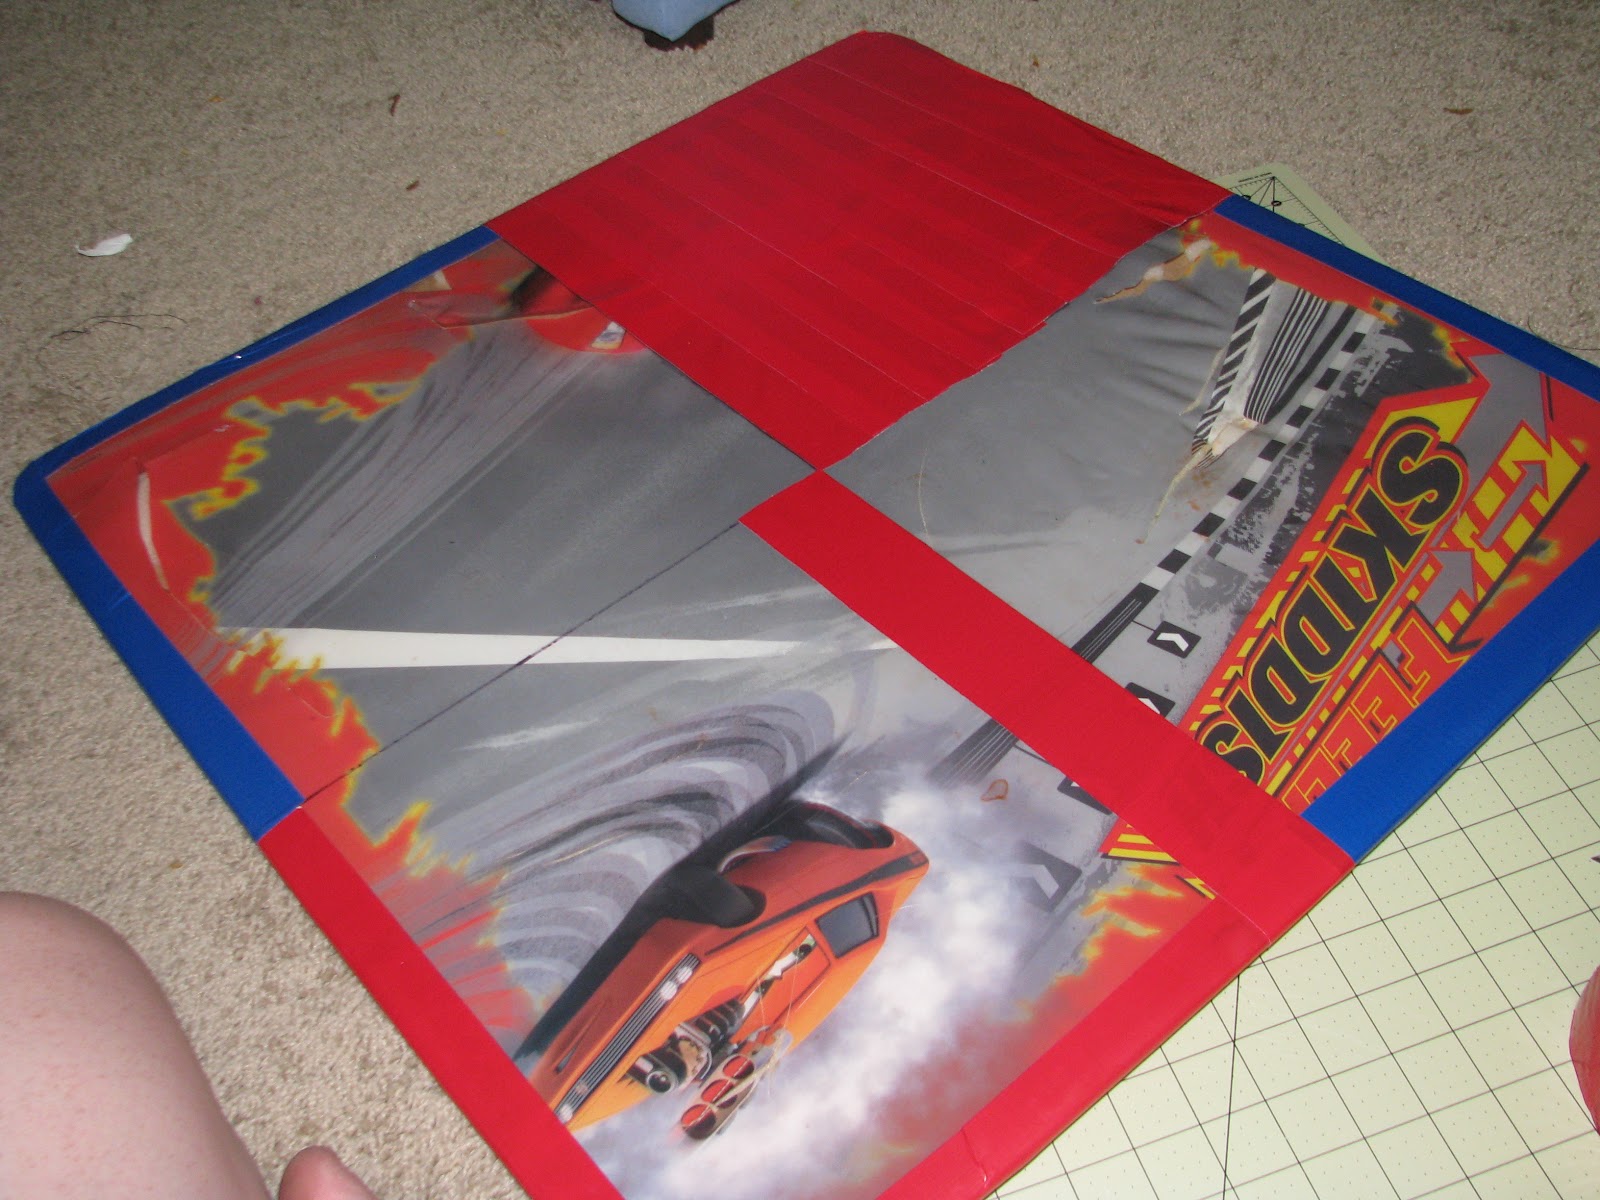
| I start with one corner and taped one square already and now I am starting to tape the other side in the same direction. |
 |
| This is what it looks like with the two opposites, going in one direction. |
 |
| Now, I started putting on the blue tape and was going to do it in the same direction as the red but decided to tape it in the opposite direction to make it look a little different. |
 |
| At the same time, I thought this was going to be the finished part. Well since, I had yellow duct tape I thought I would use it to cover up the touching sides. |
 |
So, I took a long strip of yellow tape and tried to get it evenly across the center.
I think I did a pretty good job. |
 |
| Then, I did the same thing on the opposite side. It looks like a plus (+) sign. |
 |
| So then, I took long strips of the tape and put them along and down each side of the table. |
 |
| Then, I turned the table top over. Put the metal base back into place where the holes matched up. |
 |
| Now, once I aligned the holes with the metal base. I just screwed the screws back in. |
NOTE: Now, on some of these metal activity tables, some have the screws going into the table and not the metal base. So, you might have to feel for the holes after you tape the sides down and you might have to puncture the holes with a sharp tool.
 |
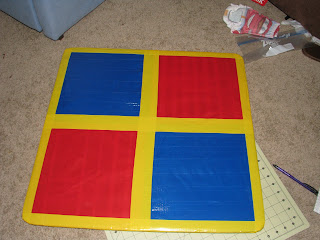
| Now, it is finished, Yeah!!! |
 |
| Close up of the top of the table. I am so proud of myself. |
My kids love their new table. My oldest Aiden woke up from his nap and says "WOW!, We got a new table!". It put a big smile on my face just to know that I made them this and that they were SO excited. SO, on that note, please excuse the mess in the background, my kids were taking a nap and I wanted to special them with this. Plus, I didn't think to pick up the little bit of stuff before taking the pictures.


No comments:
Post a Comment