How To Make A T-Shirt Board....
One Day, I went on YouTube and looked up on how to make a shirt board and all I could fine were just plain shirt boards. Than, I came across this video that was so cool and she had used duct tape. So, I thought that's a great idea. So, I went out got all the supplies and this/these are....
My T-shirt Board(s):
Here is the Link to the YouTube Video (she also shows you how to fold pants using the shirt board as well): http://www.youtube.com/watch?v=PEAFFy_AGh8&feature=plcp
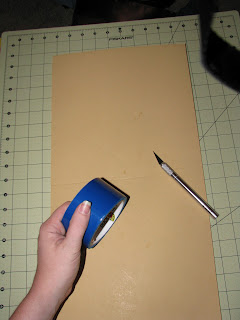
 The materials you will need:
- Foam Board (20 inch by 30 inch board)
- X-Acto Knife (Optional: Razor blade or Box cutter either will work)
- Duct Tape
- Ruler (Acrylic Ruler-Optional)
- Pencil
- Cutting Mat
NOTE: Duct tape- if you use the designed tape you will need 3 rolls to cover the board. If you use the plain you will need about 2 rolls to cover but if you want to design it then you will need more than 2 rolls but that will be up to you.
The Measurements:
Adult Folding Board:
- 2 Long boards 20 inches by 9 inches
- 2 Short board 10 inches by 9 inches
Child's Folding Board:
- 2 Long boards 16 inches by 9 inches
- 2 Short boards 8 inches by 9 inches
NOTE: This is how I did my measurements; Adult Folding Board: 2 long boards 20inches by 10 inches and 2 short boards 10inches by 10 inches. Child's Folding Board: 2 long boards 15 inches by 6 inches and 2 short boards 7.5 inches by 6 inches. My kids are 4 and 2 years old so I don't really need that big of board. I cut the 20x30 inch board in half and made two kids boards. Plus, I use the small folding board to fold hubs' boxers and A-shirts (wife beaters) and they fold perfectly.
 |
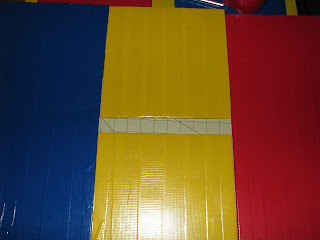
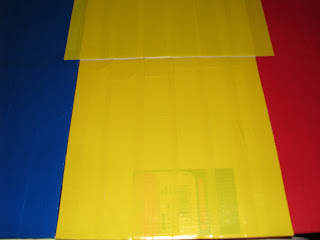
| Now, you are going to take your middle board that you cut. Measure 10 inches long by 9 inches wide (child's 8 inches long by 9 inches wide), basically you are just cutting the board in half into two equal pieces. |
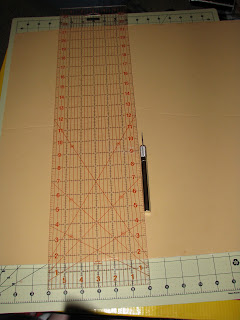 |
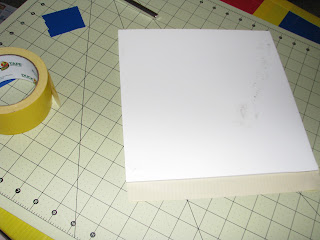
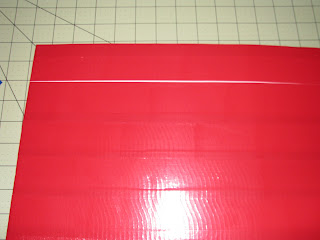
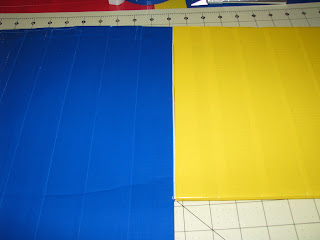
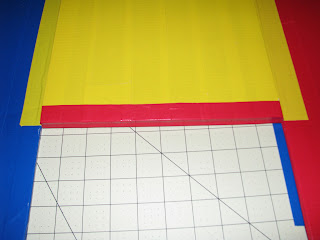
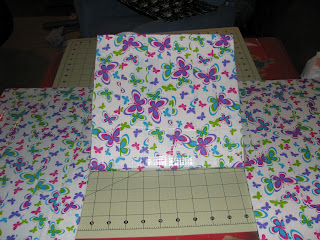
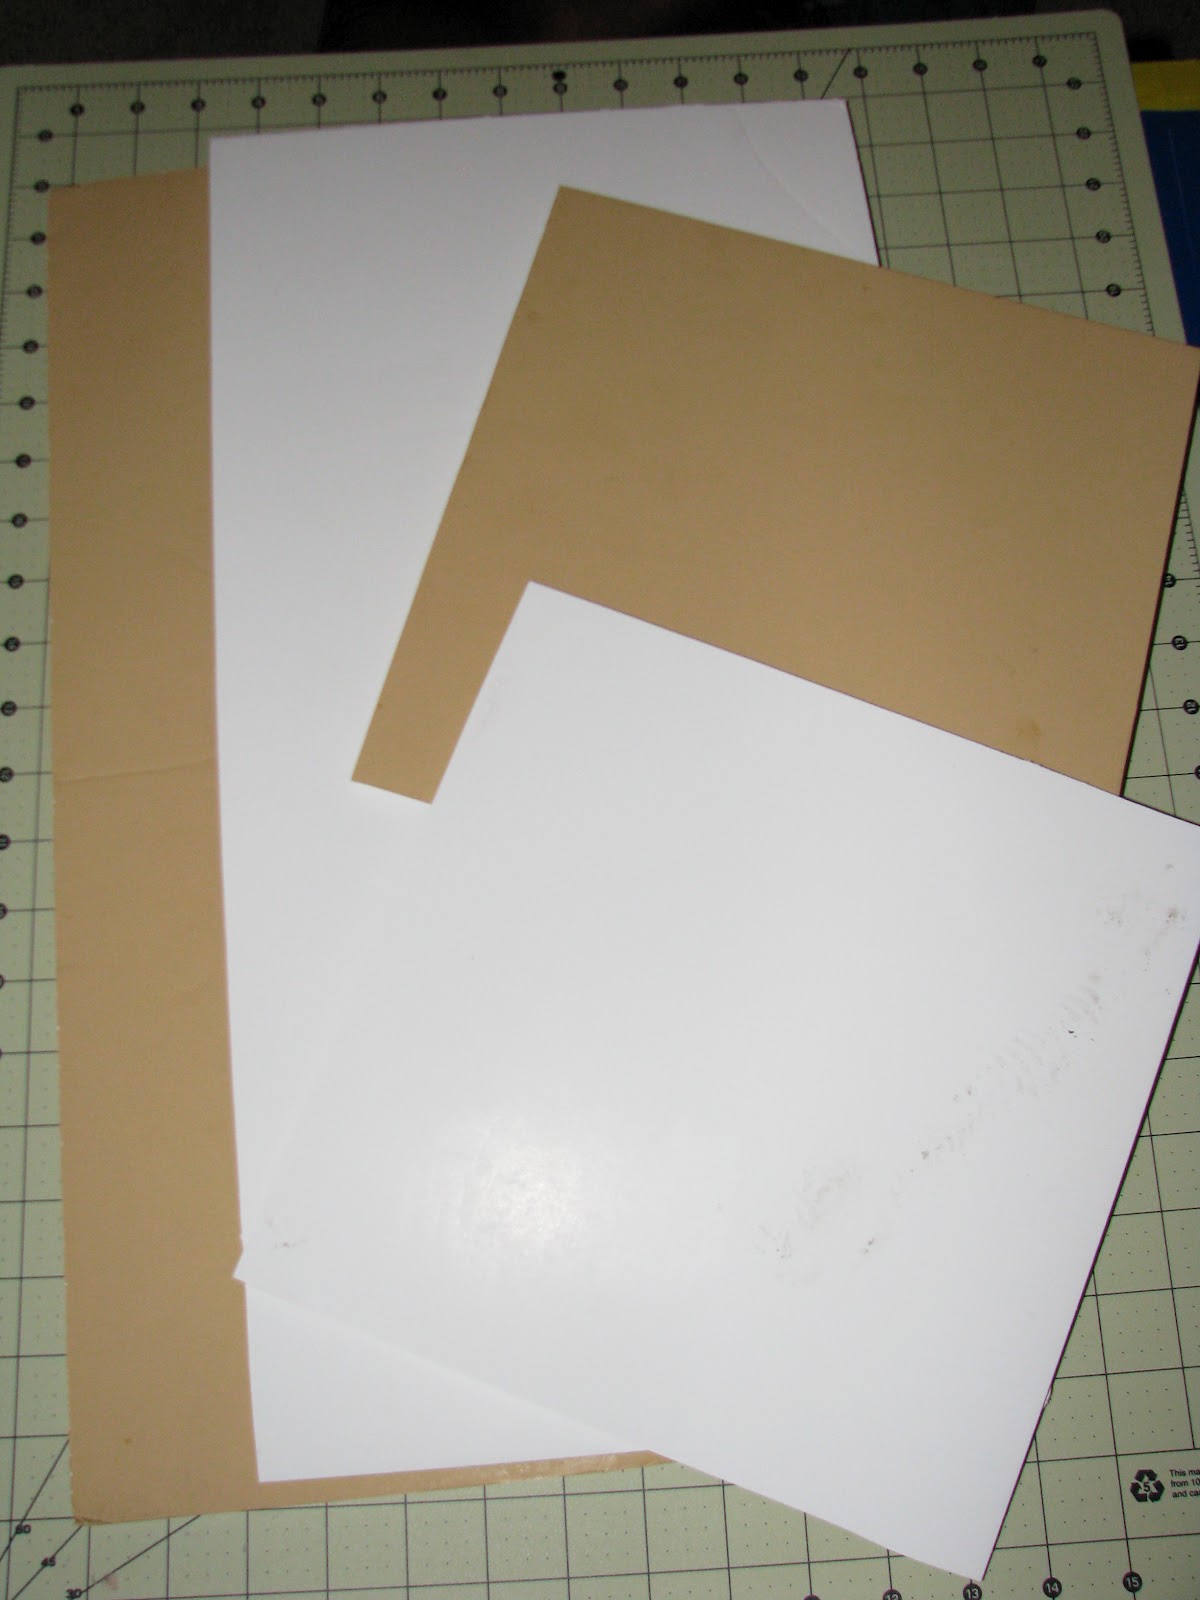
| First, you are going to need to get your Foam Board, Ruler, X-Acto knife, and pencil, measure it out to 20 inches long and 9 inches wide (child's 16 inches long and 9 inches wide). Use a pencil to draw a straight line to mark where you need to cut. |
 |
| Next, you want to cut your boards into 3 long equal pieces 20 inches by 9 inches (child's 16 inches by 9 inches). |
 |
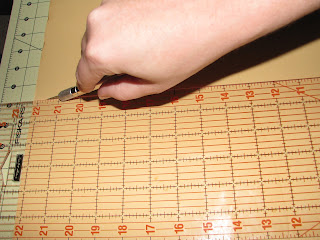
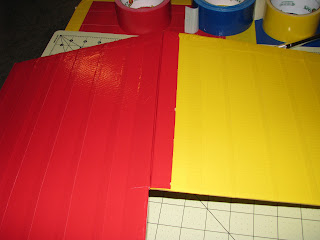
| This is what it should look like when you use your X-Acto knife to cut it. |
 |
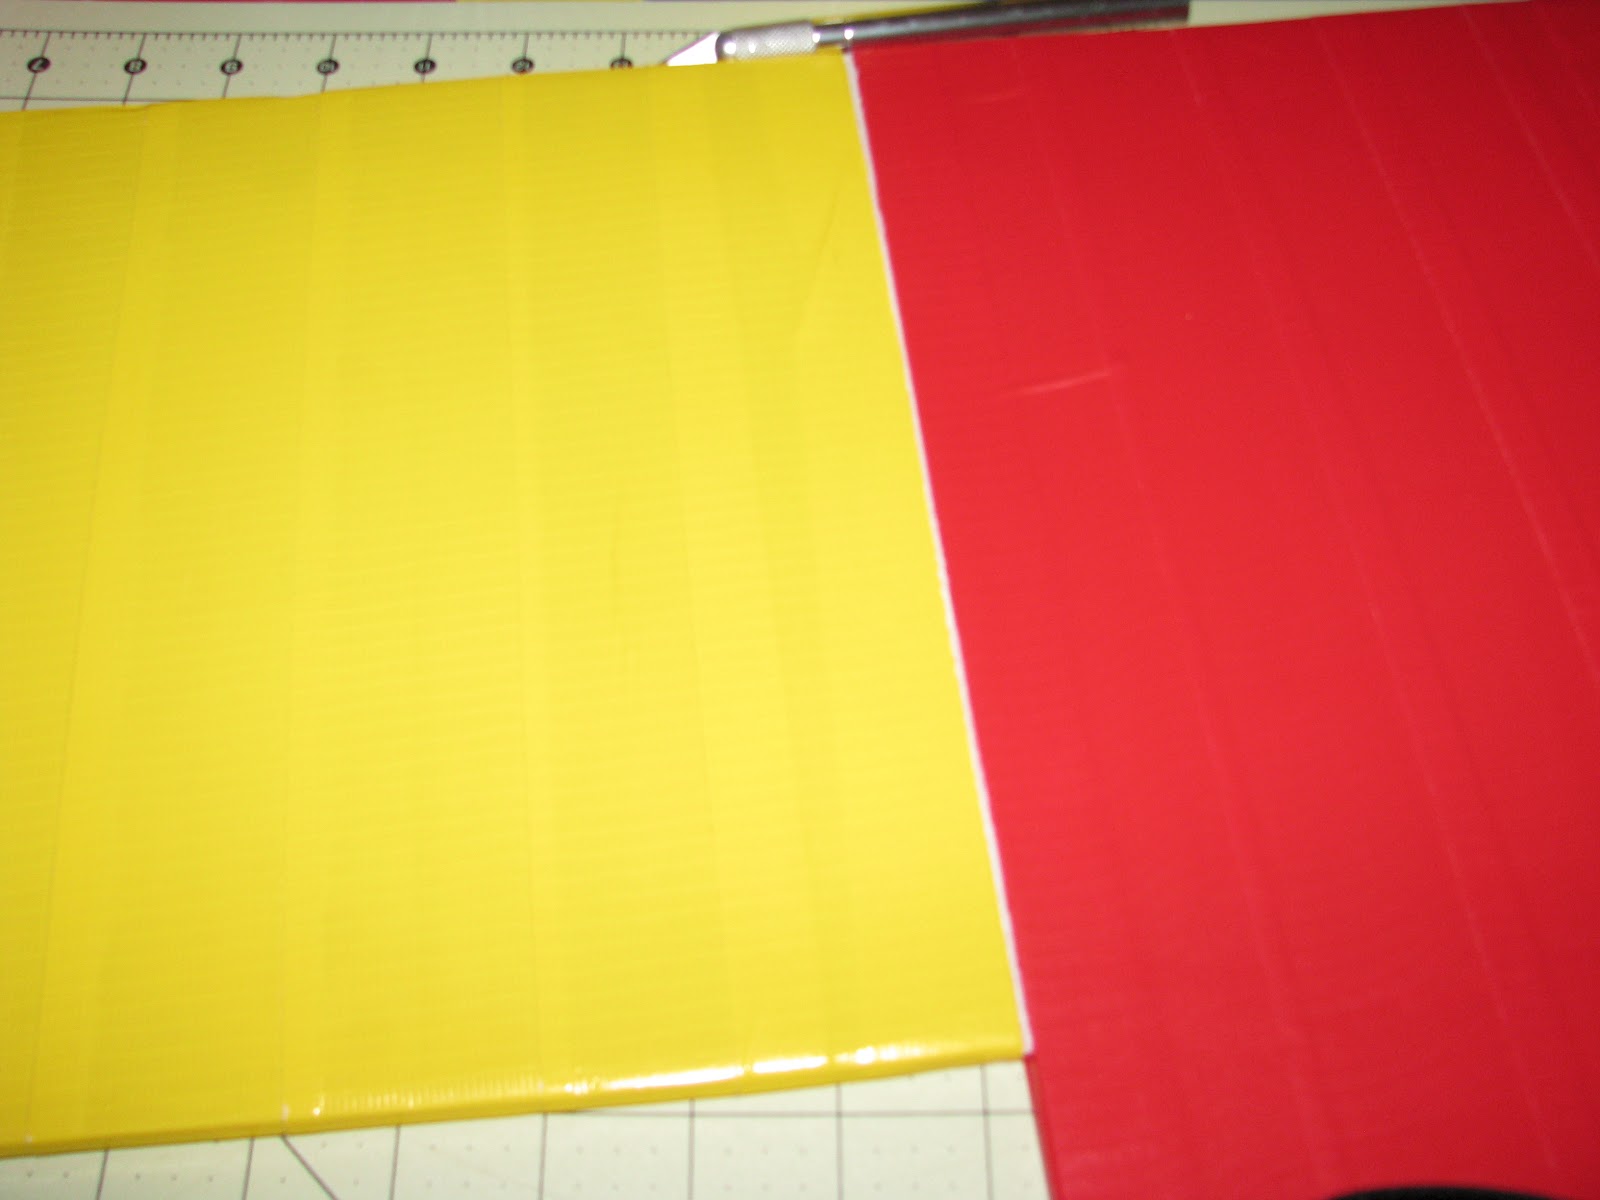
| This is what your 3 pieces look like all cut up. |
 |
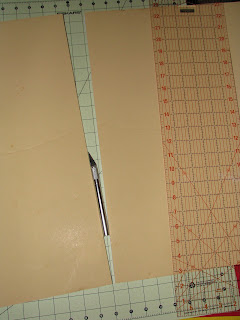
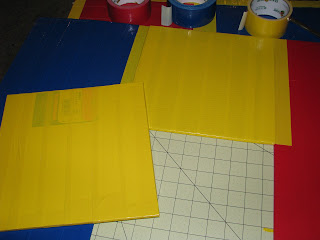
| This is what it should look like when you cut them. |
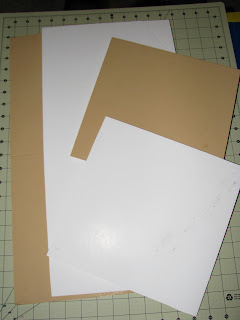 |
| These are the are the 2-20 inches long by 9 inches wide and 2- 10 inches long by 9 inches wide (child's 2-16 inches long by 9 inches wide and 2-8 inches long by 9 inches wide). |
 |
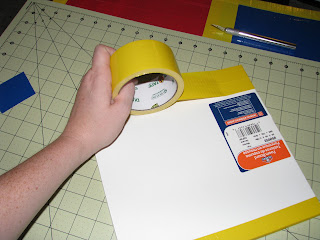
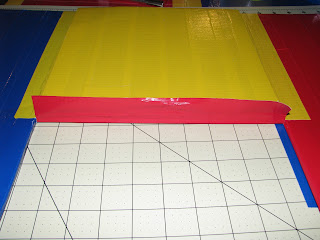
| Now, you are going to take your Duct Tape, X-Acto knife, and One of the Long boards and start taping your board. |
 |
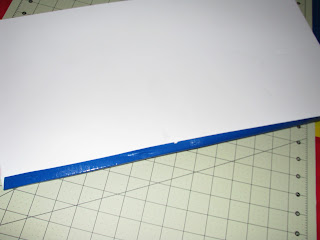
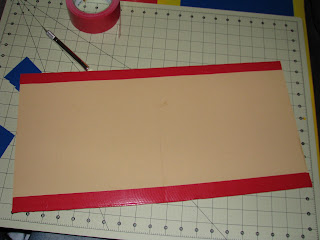
| What you are going to do is start taping the sides first for a finished look. |
 |
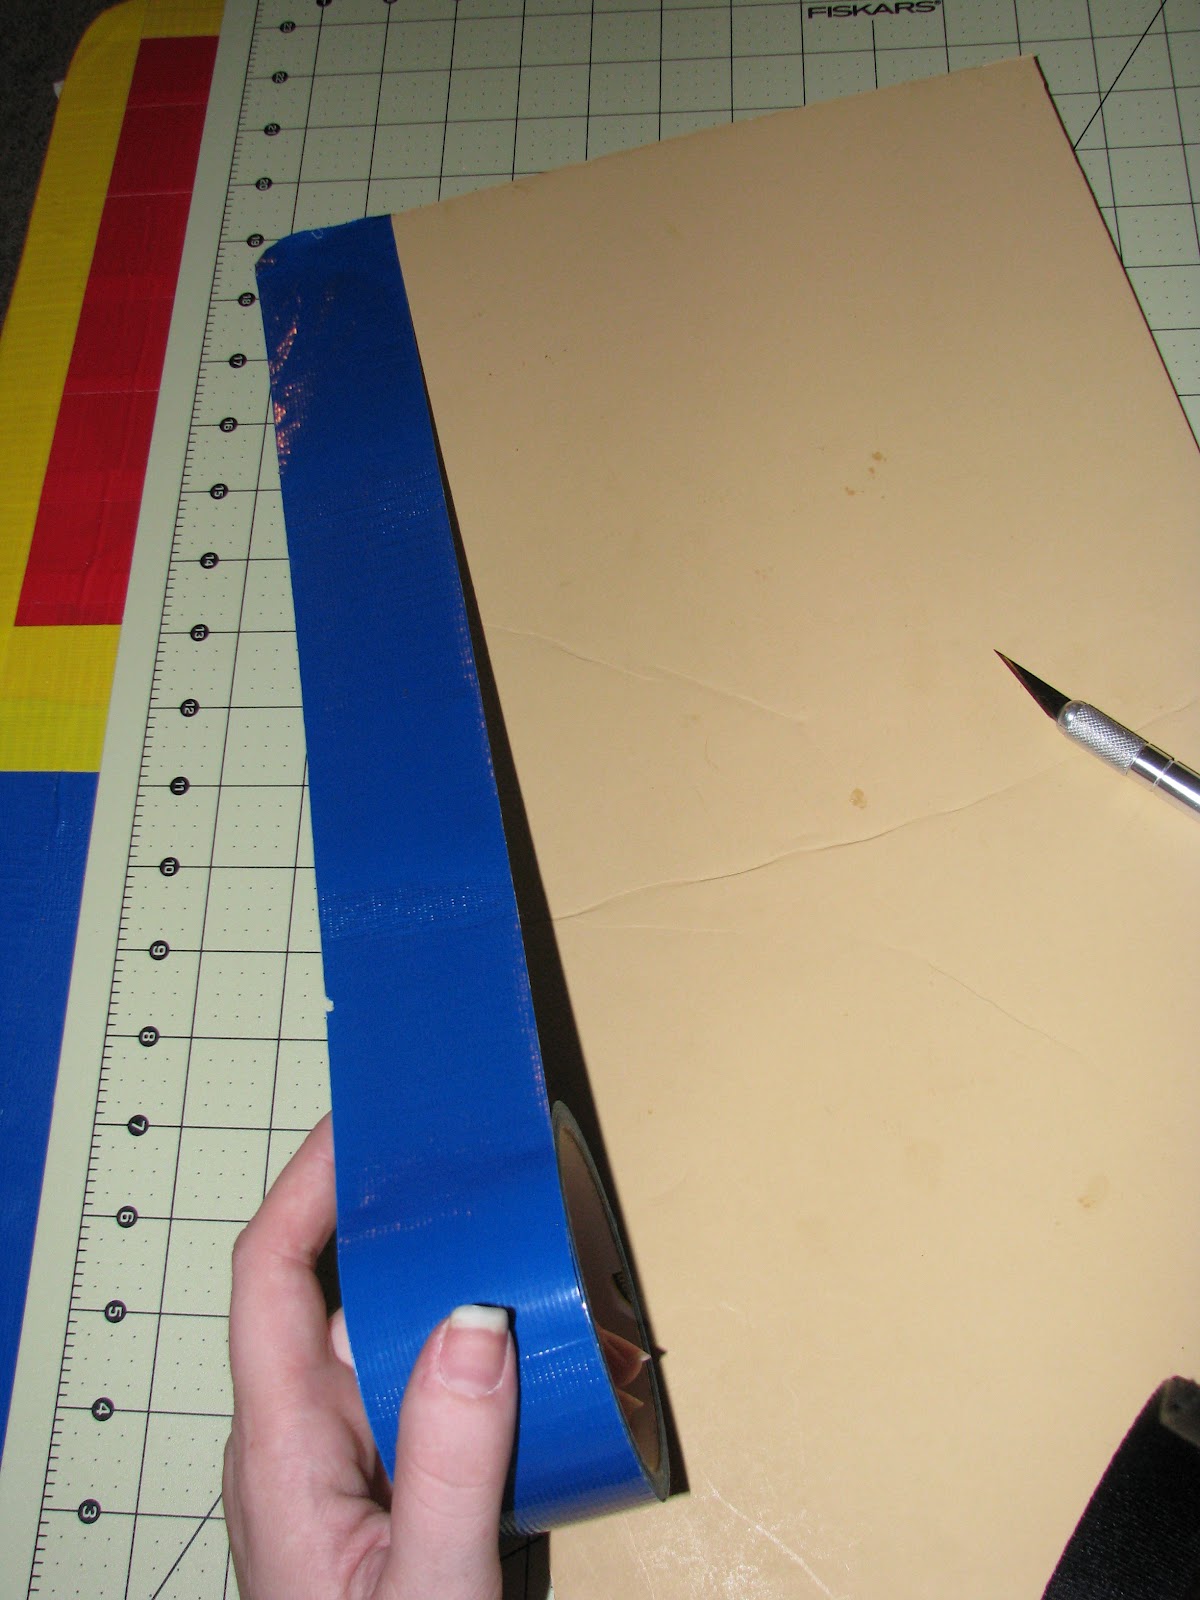
| What you are going to do is tape it on one side (make sure you place the tape to were the tape and side are evened up), lay it down and take the X-Acto knife and cut your tape off but when you cut make sure you cut close to the foam board to get a nice even cut. So you don't have extra tape flapping on the sides.
|
 |
| This is how it should look and press the tape on the side of the board to secure it down. |
 |
| Then, you fold over the tape and smooth it out. Now, make sure you do this to the other side as well. |
 |
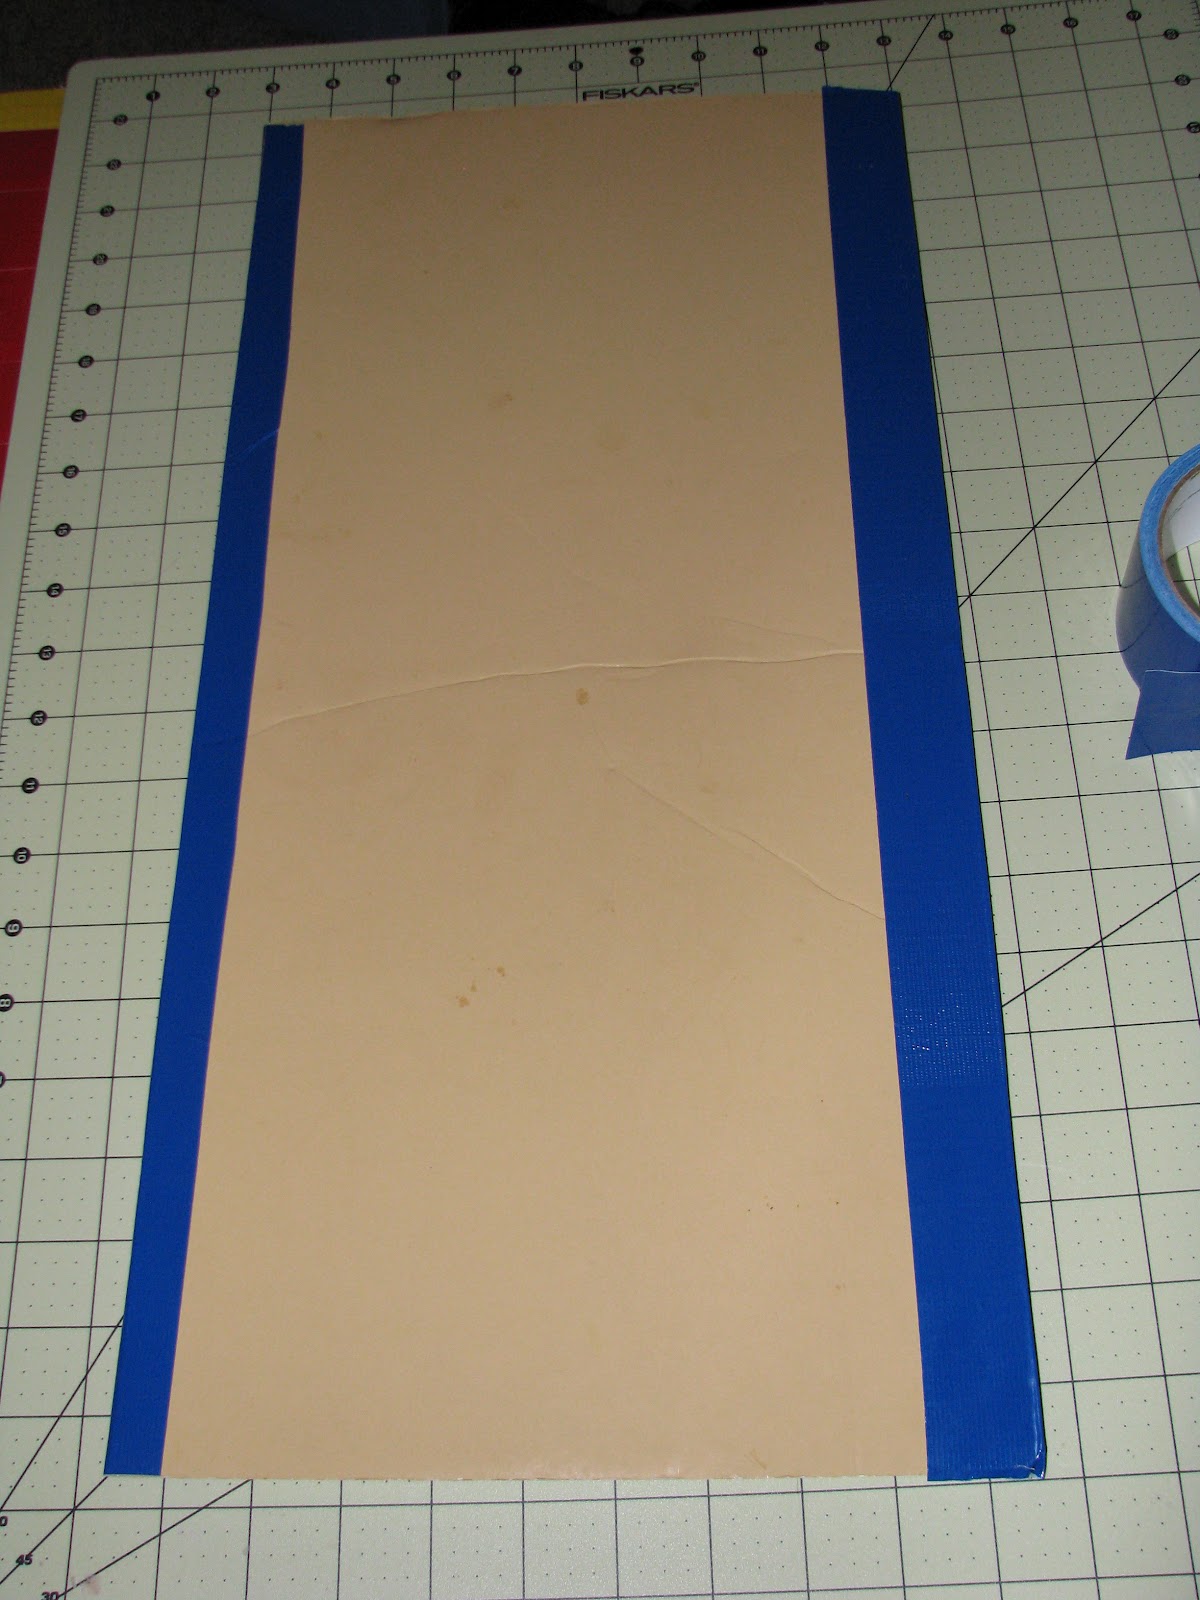
| This is what it should look like when you have done both sides. |
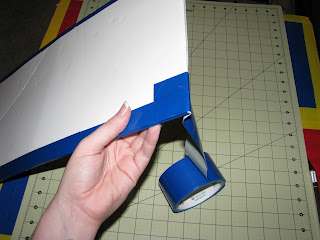 |
| Now, what you going to do is take your tape put a little piece of it over on the one side and make sure you get the tape closest to the edge. Then, you want to lay the board flat,
holding down the top, then pull on the tape to where it stitches all the way to the end. Then, you want to press and get all the bubbles out. After that, bring the tape around and do what you did on the one side to the other side and then once you get tape all the way around to the end, lay the board flat and get your X-Acto knife and cut the tape off, making a nice even cut. |
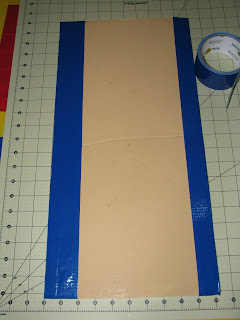 |
This is what it looks like after you have taped it all the way around and cut the tape off. Now, repeat doing the whole board and overlap the tape to be more secure.
NOTE: Just in case you use it in the future and spill liquid on it, it won't damage the board. |
 |
| This is what it should look like after you have taped the whole long board. Make sure when you get to the end of the board the tape edge should match the edge of the board on the final tape around. |
 |
| Now, You take one of the short board and you repeat the process. What you did to the long board you will do it to the short boards as well. |

Repeating the process....
Repeating the process....
Repeating the process....
 Repeating the process....
 |
| This is what I mean about stitching out the tape across the board. |
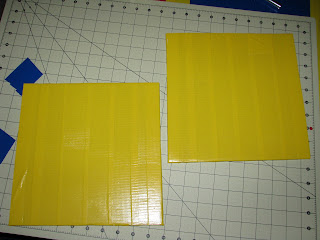 |
| This is what it should look like when you have done both short boards. |
 |
| Now, Repeat the same process you did with the other long board and cover the whole board. |
 |
| Now some times you run into tape problems like I did where you thought the tape was wide enough to cover, well, all you have to do, is just do another tape around to cover up the gap or you can cut a piece of tape to the length of the gap and tape it down, it's up to you on how you want to do it. |
NOTE: Now you don't to tape the boards in the order I did. You can do them in any order just as long you have taped all four boards up.
 |
| This is what it looks like when you have taped all four of the boards. |
The Order That They Are Placed:
- One long board on the left side
- One short board at the top middle
- One short board at the bottom middle
- One long board on the right side
 |
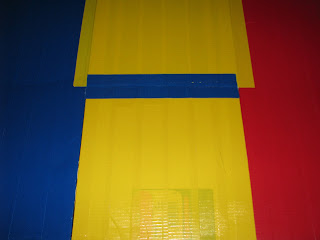
| Now, you going to cut a four 10 inch strips of tape and two 9 inch strips of tape (child's four 8 inch strips of tape and two 9 inch strips of tape). What you going to do now is take the One long board on the left side and One short board at the top middle, lay the short board on top of the log board and make sure the top corners match up. Now, take one of the 10 inch strip (child's 8 inch strip of tape) of tape and tape it down on the short board. |
NOTE: Now you don't have to cut the tape into strips, you could easily just place the tape on the short board making sure the edge of the tape is even with the edge of the board, pull down, and then cut the tape at the bottom where the edge is even with the bottom of the short board.
 |
| Then, you want to take and fold the tape down onto the long board to secure both the long and short boards together. |
 |
| This is what it should look like after you have tape the boards together on the outside. |
 |
| Now, when you turn it over this is what it should look like when you have tape the back, this is the front view. |
 |
| Now, you want to take second one 10 inch strip (child's one 8 inch strip) of tape and you want to make sure when you start putting the tape on to match the edge of the tape with the edge of the board, press to get the bubbles out and securing both boards together. |
 |
| This is what it should look like you have pressed and secured both sides with the tape. |
 |
Now, you want to take the Other long board from the right side and the boards you just tape together and repeat the same process.
NOTE: You don't have to put the short board on top of the long board, you can do it either way just as long as you have taped and secured the boards together. |
 |
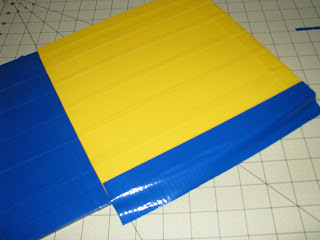
| See here is what it looks like when you have taped the one side of the short board. |
 |
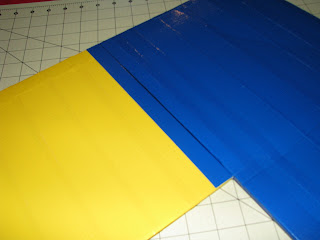
| This is what it should look like after you have used the third 10 inch strip (child's 8 inch strip) of tape and secured the two boards together. |
 |
| This is what is should look like after you have taped and secured the tape on the back, this is the front view. |
 |
| All most done, now you need to get the other short board. |
 |
| Now, you want to place the short board on top of the other short board and line the bottom corners together . |
 |
| Then, you want to take you one of the 9 inch strip (child's 9 inch strip) of tape and place it on the back side of the bottom short board and bring it around. |
 |
| Now, what you want to do after you bring the tape up press down on the edge to give it a clean look. |
 |
| Then, you want to press and secure the top of the tape down. |
 |
| This is what it should look like when you have taped the two short boards together on the back and unfold the flap down. |
 |
| Finally, you want to take the second 9 inch strip (child's 9 inch strip) of tape and tape down the front to give it nice, clean, and secure look. Make sure you match up the edges for a good clean cut look. |
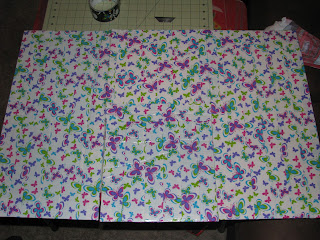 |
| This is what the board should look like after you have taped it all together. |
How To Fold A T-Shirt Using Your Folding Board:
Now the pictures that are below show how to fold an adult T-shirt but you can fold more than t-shirts with this folding board.
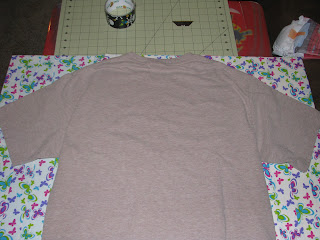 |
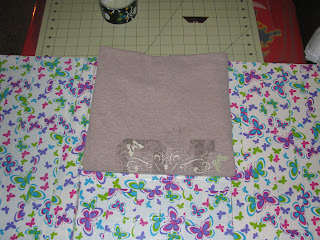
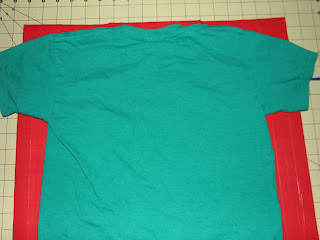
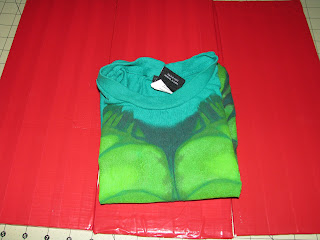
| Place the T-shirt face down on the board with the collars aligned with the edges of the top of the board. |
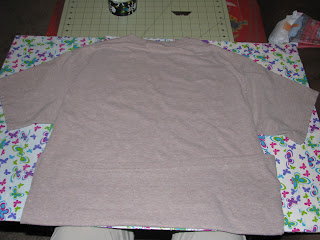 |
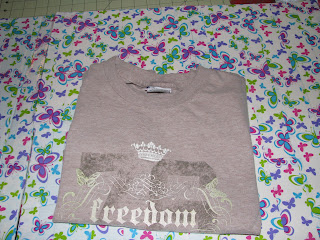
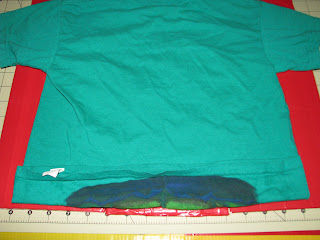
| Now, if you have excess clothing hanging off of the board, just fold it up to where the edges align with the bottom of the board. |
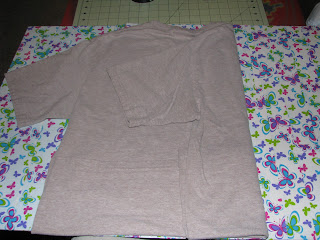 |
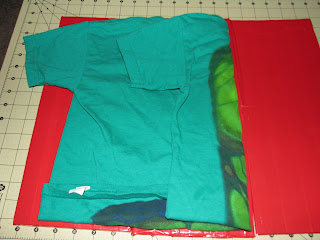
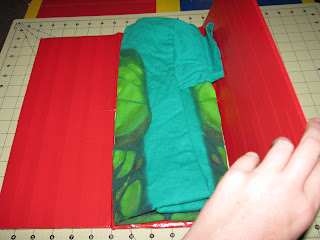
| Then, starting from the right side fold the board over and it should look like this. |
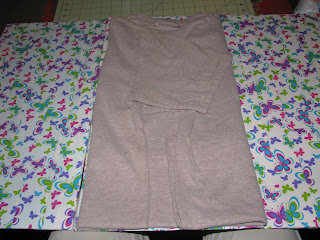 |
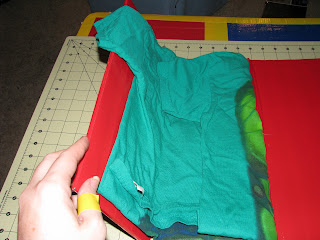
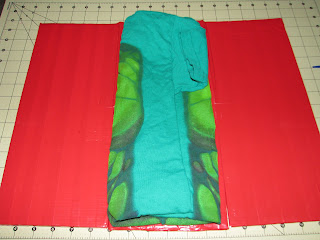
| Do the same as the one above fold over but you will fold the left side over this time and it should look like this. |
 |
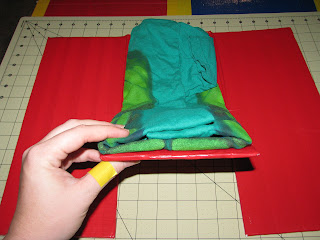
| Then, take the bottom board where it flaps up and fold up and it should look like this. |
 |
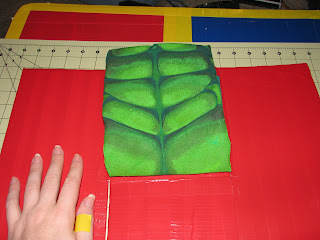
| This is what it should look like when have fold the bottom up and put the bottom board flap down. |
 |
| After all said and done, flip shirt over and VOILA you have folded your first shirt. Now, continue to do this with the rest of your clothes. |
Now the pictures that are below show how to fold a child's T-shirt but you can fold more than t-shirts with this folding board as well.
NOTE: You are going to fold the child's the same way as the adult clothes.
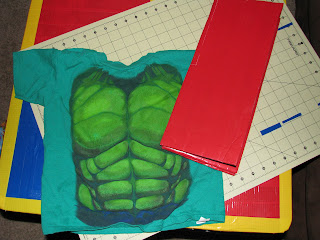 |
| You are going to need the child's folding board and a T-shirt to start out with. |
 |
| Unfold the board and place the child's shirt face down where the collar touches the top edge of the folding board. |
 |
| Now, with the excess shirt fold over. |
 |
| Take the right side and fold over.
|
 |
| This is what it should look like, after you have folded it over. |
 |
| Take the left side and fold over.
|
 |
| Now, as you can see that there is a little extra piece of clothing hanging over to the other side, all you want to do is take the right side again and fold over. |
 |
| Now, you want to take the right side of the board and fold over again. |
 |
| This is what it should look like when you fold the extra piece of clothing that was hanging over.
|
 |
| Now, take the bottom flap and fold up. |
 |
| Now, this is what it should look like when you flip it up. |
 |
| Bring flap down. This is what it should look like when you bring the flap down. |
 |
| VOILA!!! Another folded shirt...sorry the laundry sat for a day in the basket and it's just been really busy around here. |
Now, This is what I want you to do...Go Fold Some Laundry....LOL. I love my folding board. I really enjoy using this. Plus, it cuts folding time in like half, well for me it does and the kids love folding their clothes now especially my oldest, such a BIG helper. Well I hope you enjoy yours. Toddles.


No comments:
Post a Comment